Spraying a sunburst
Posted: Wed Jan 20, 2010 11:35 pm
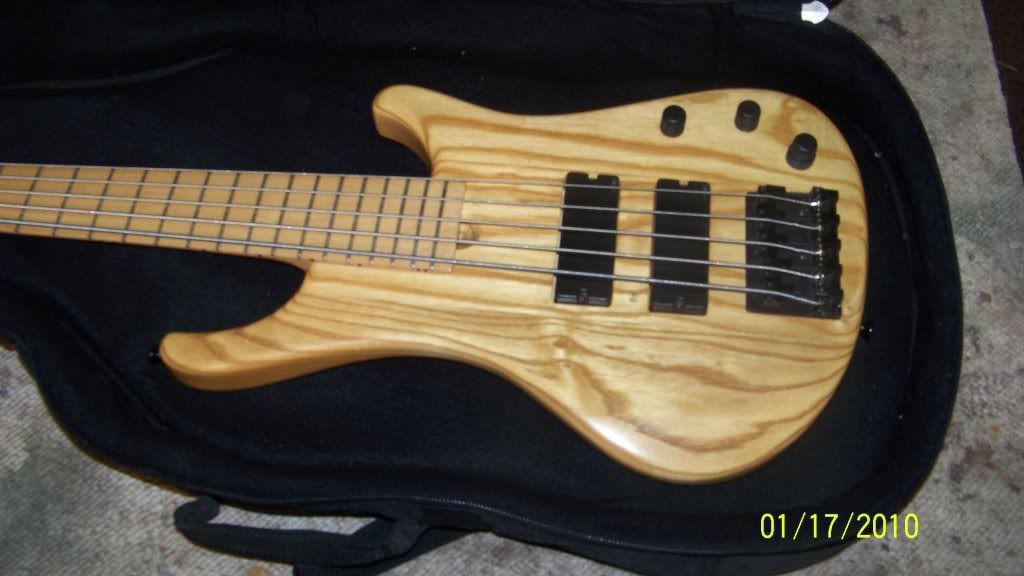
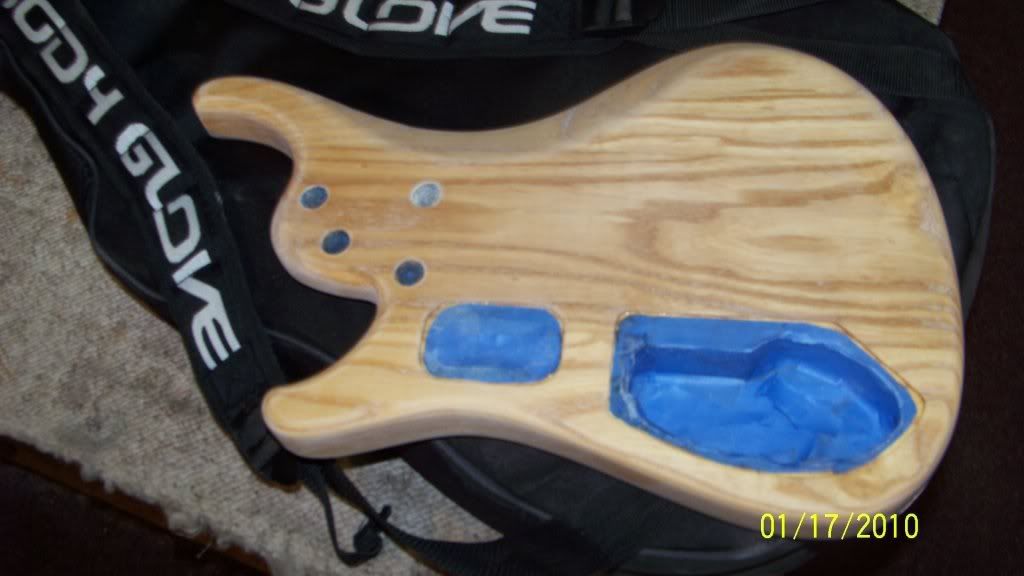
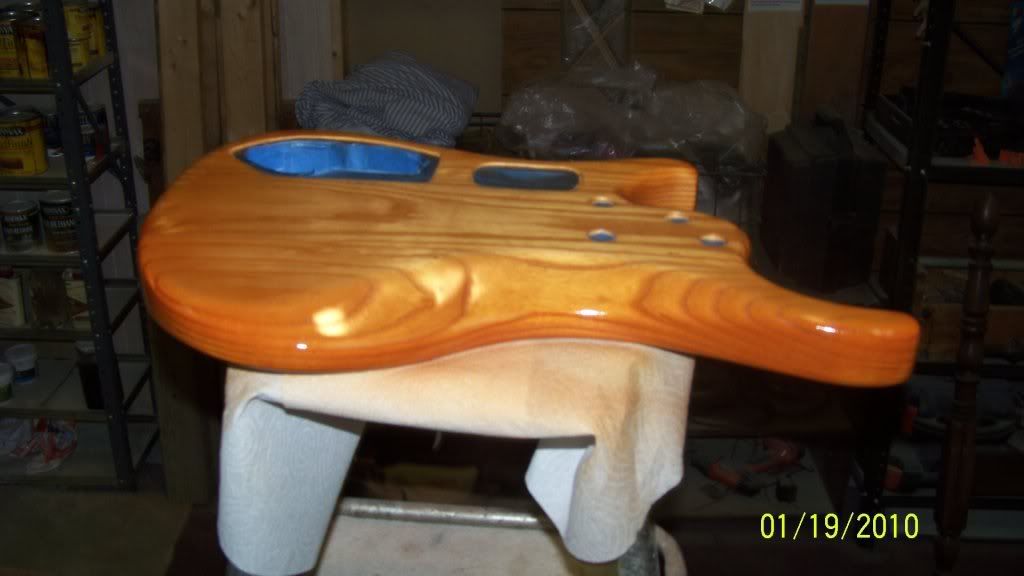
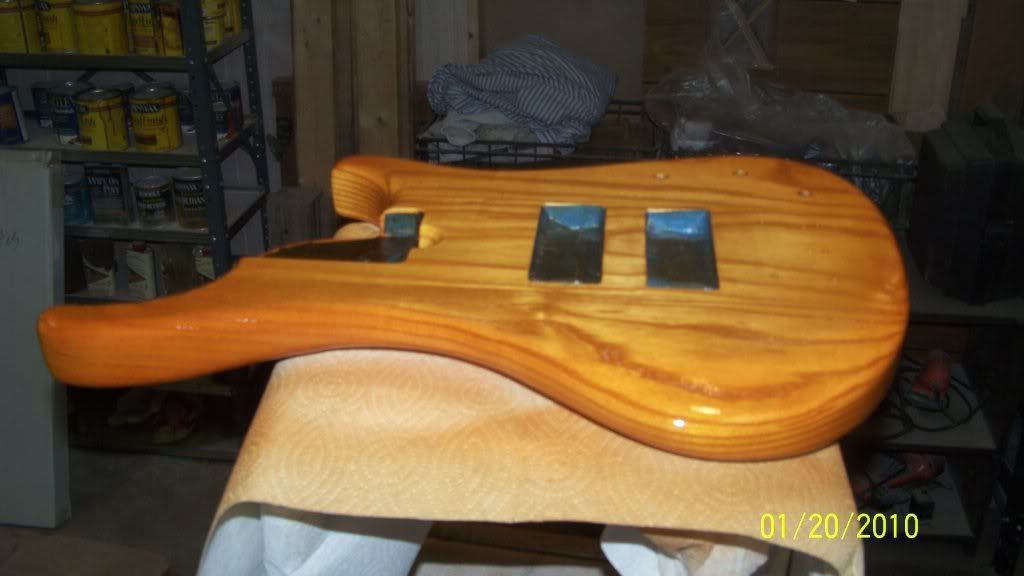
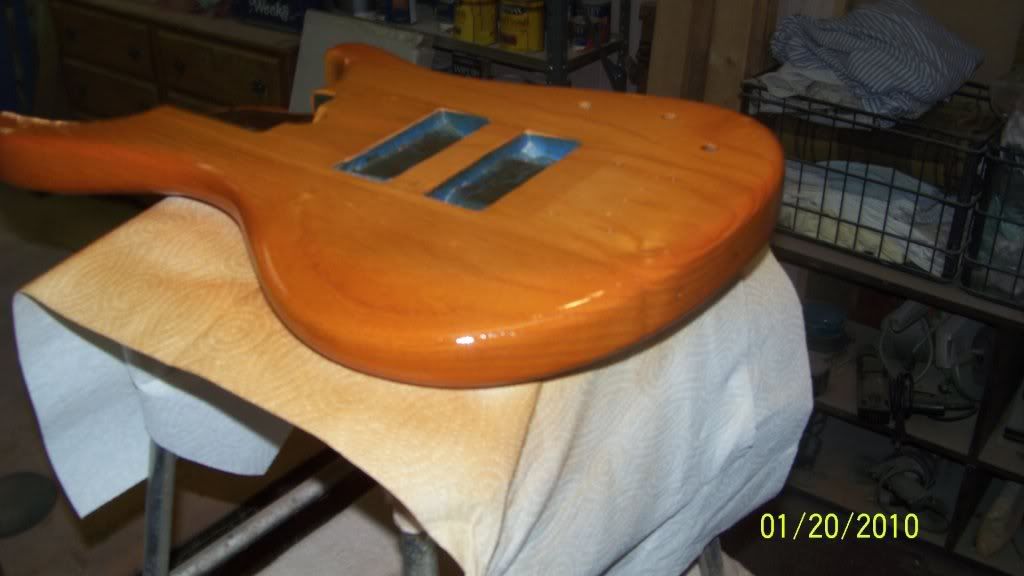
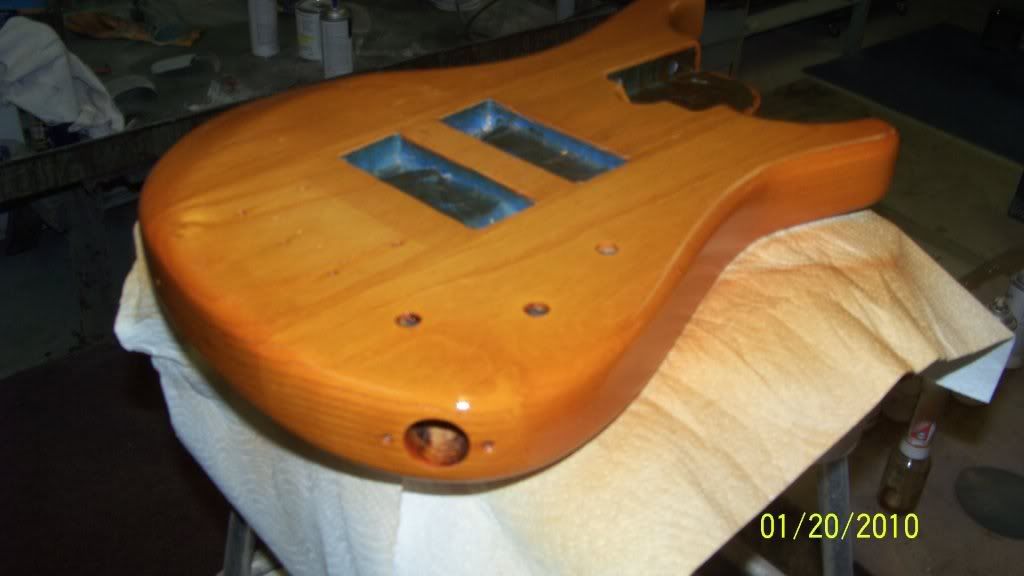
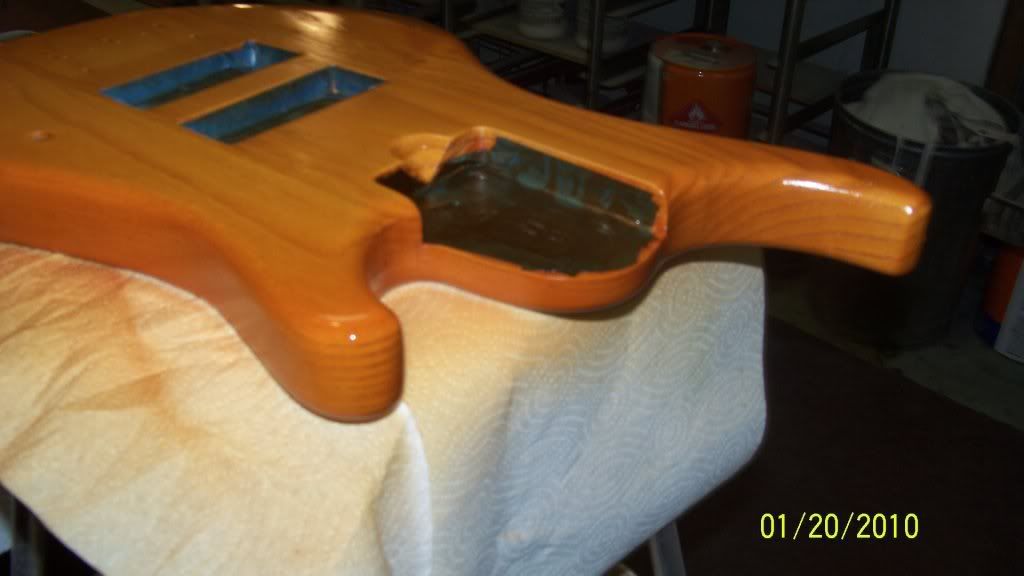
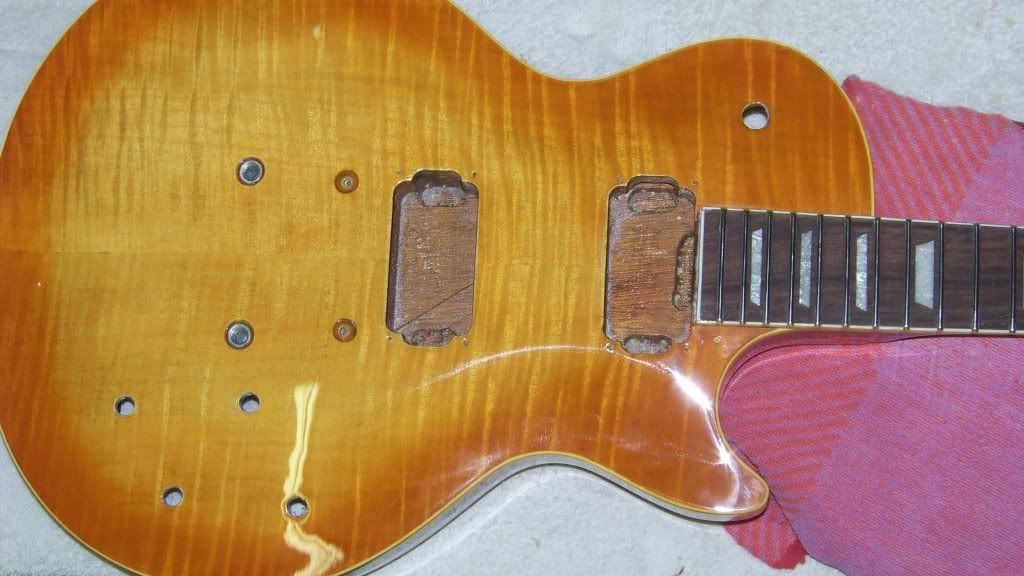
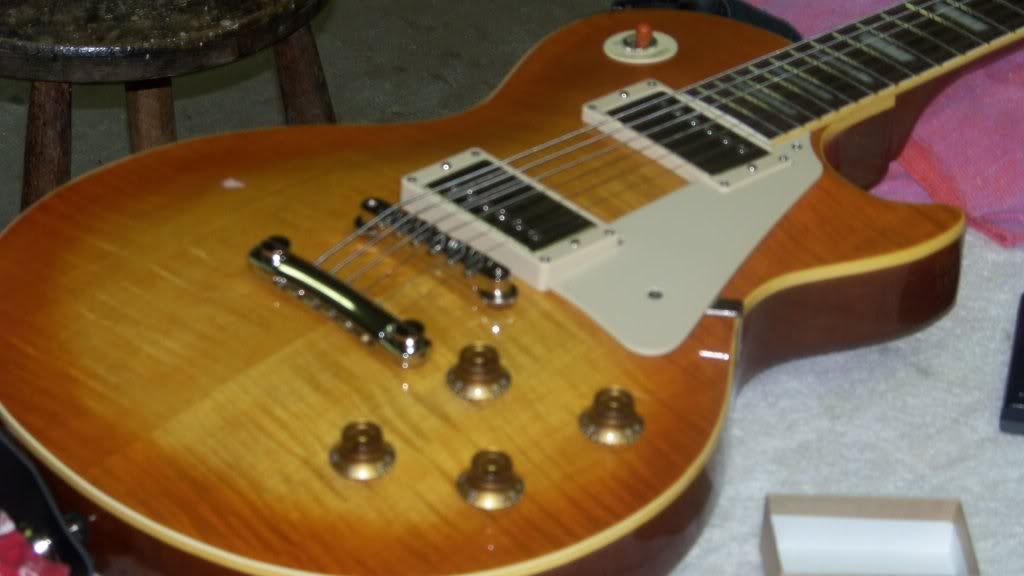
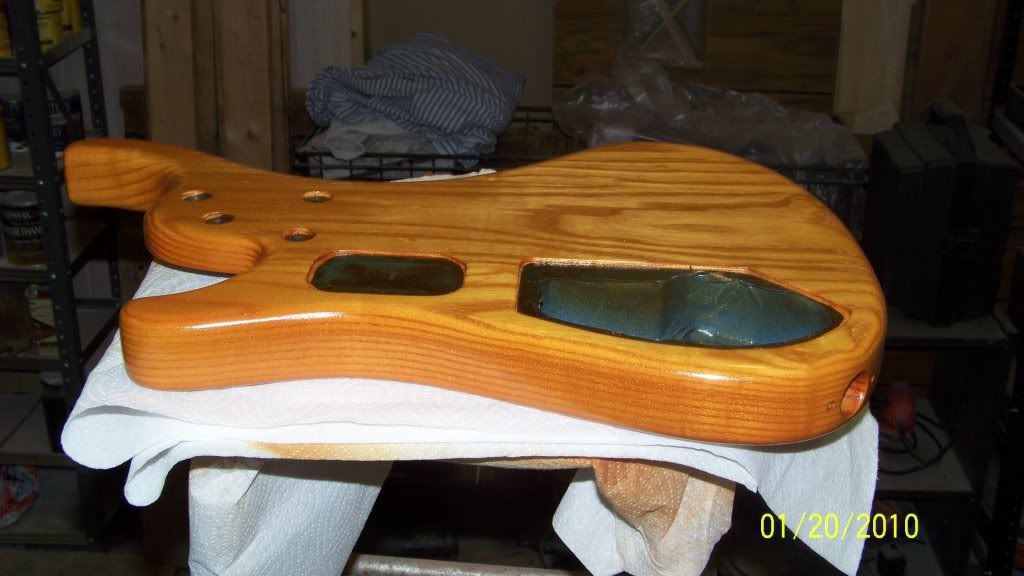
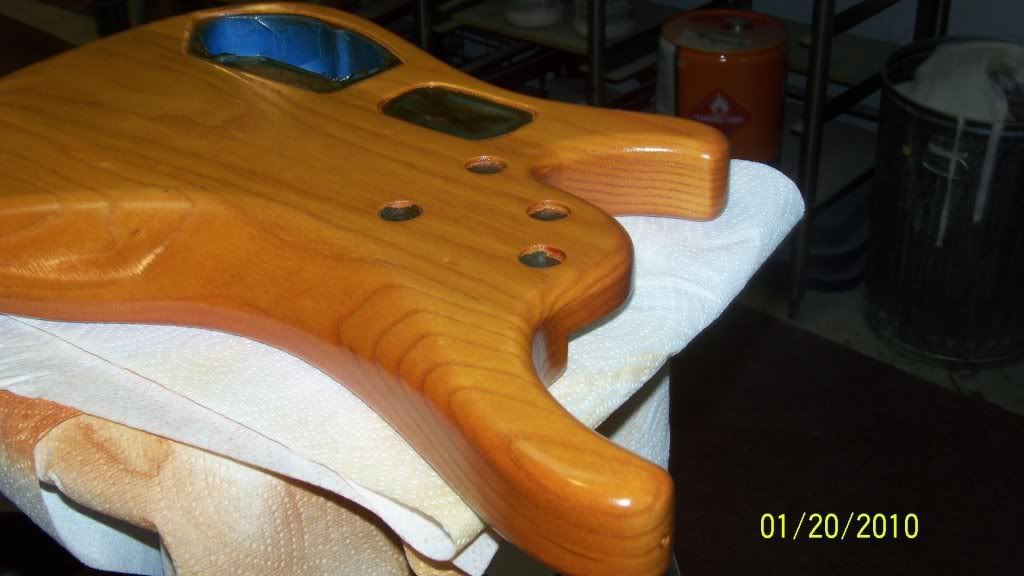
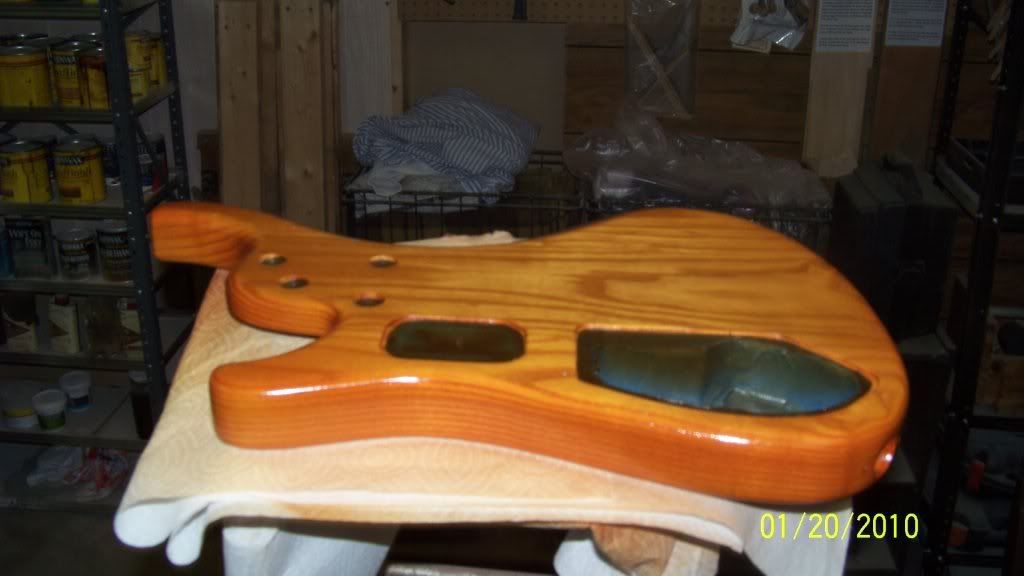
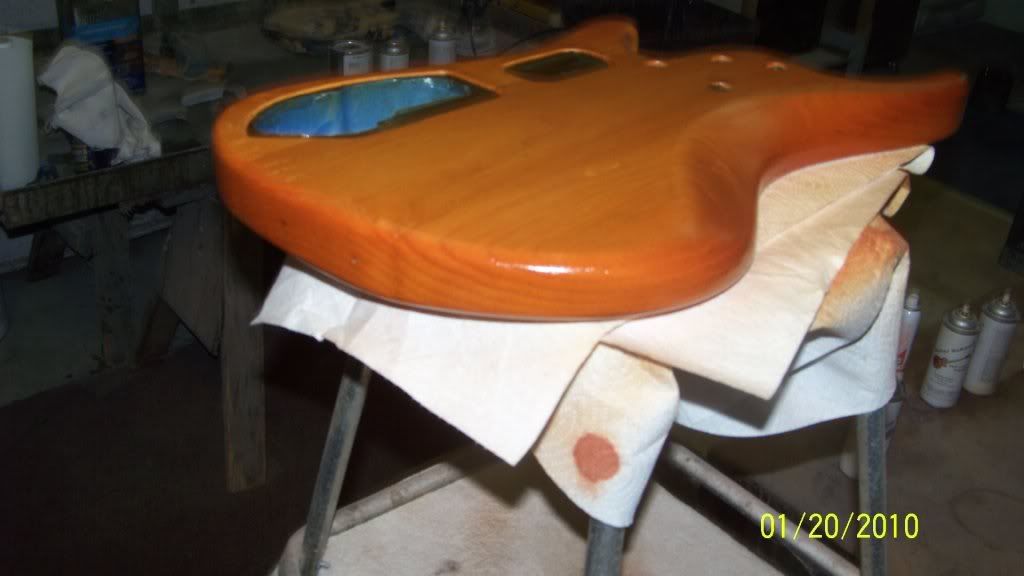
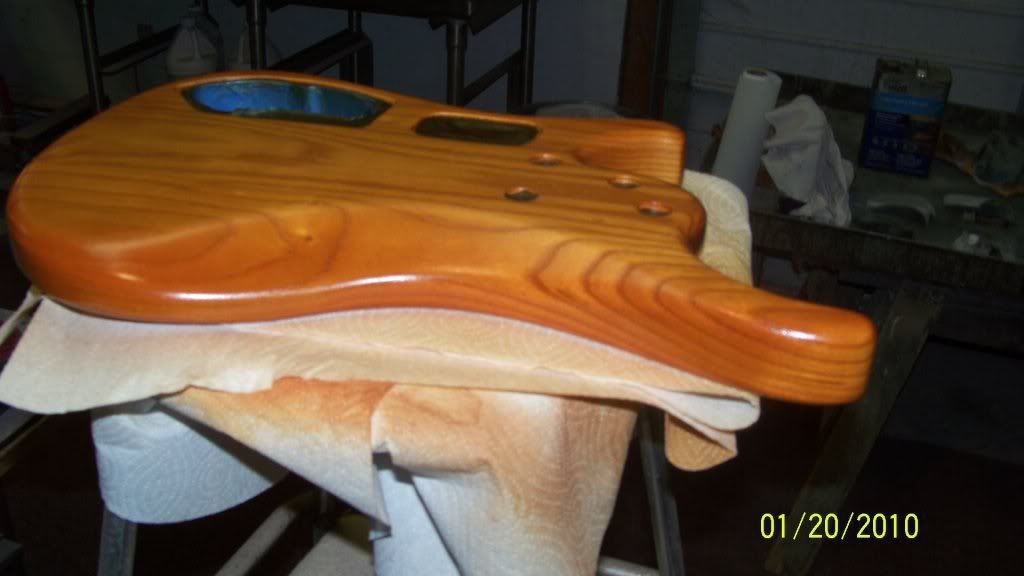
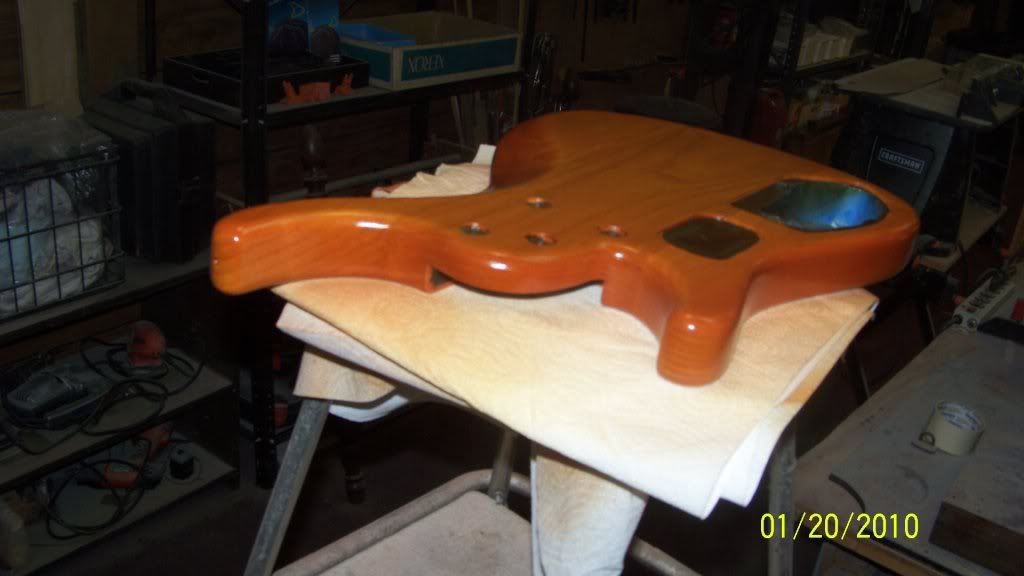
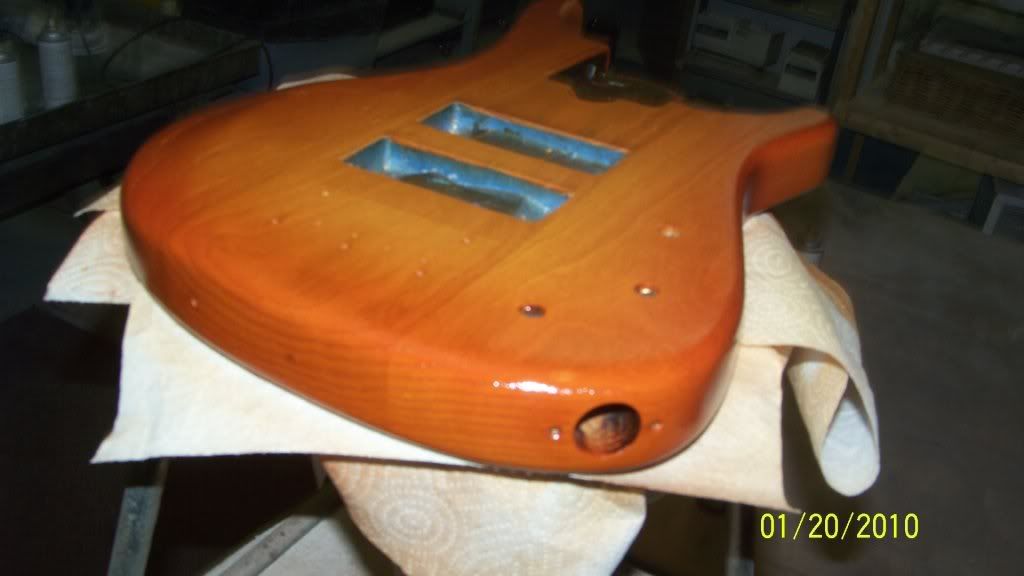
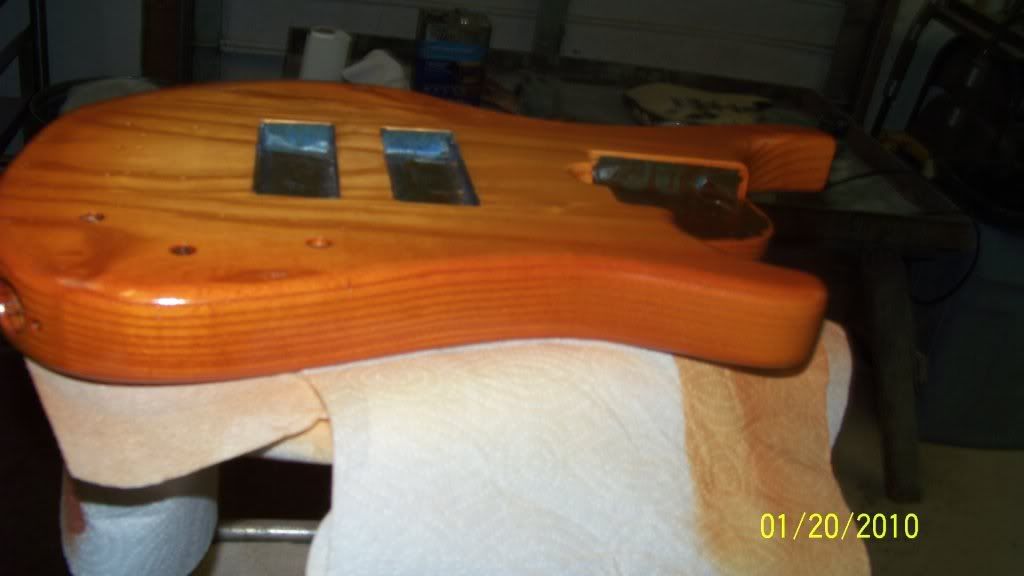
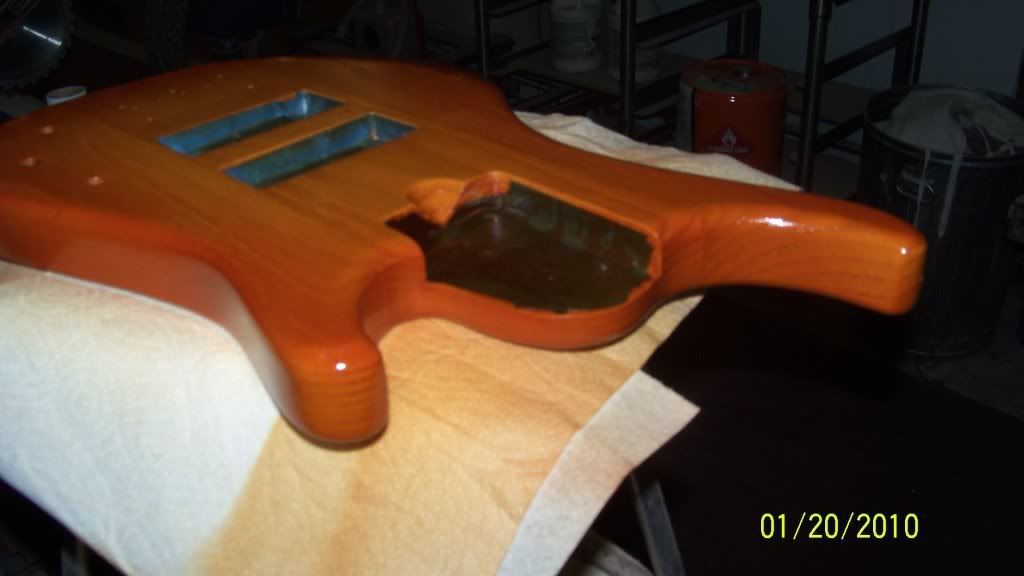
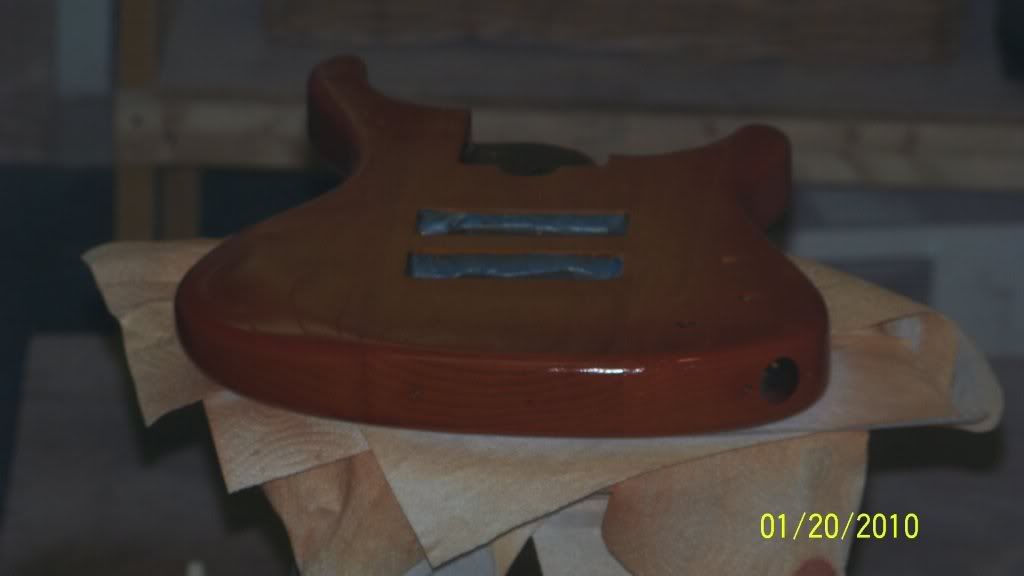
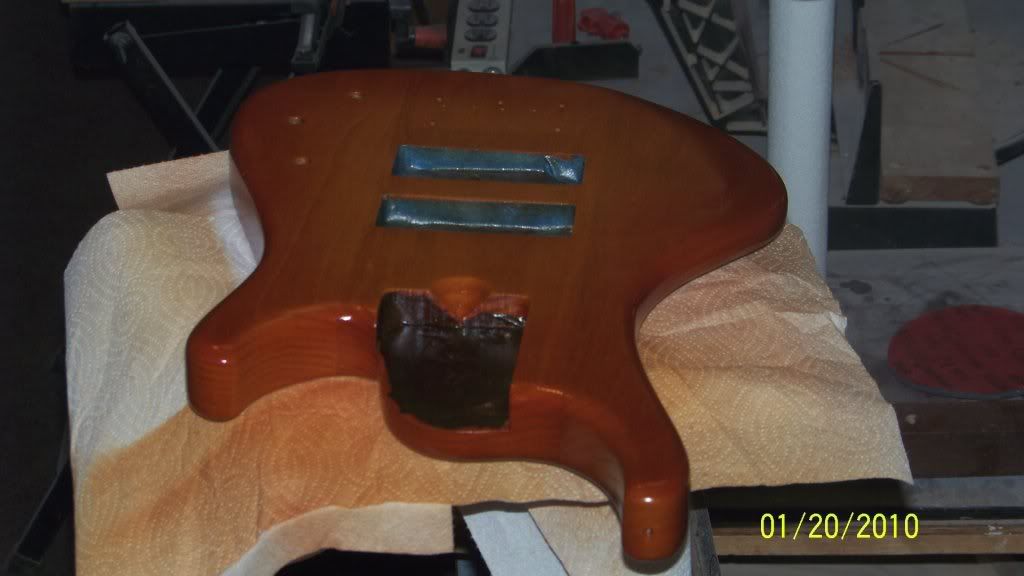
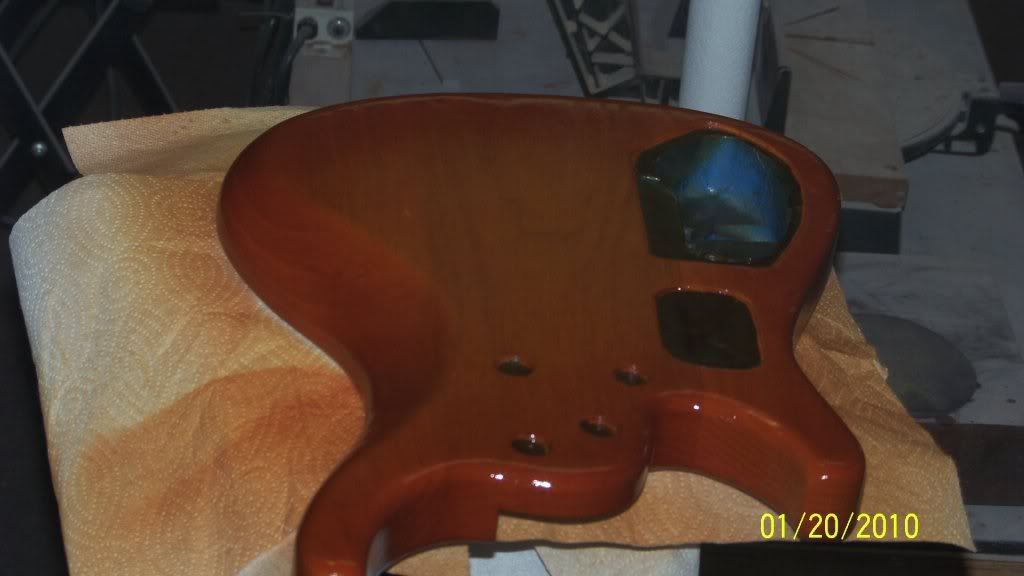
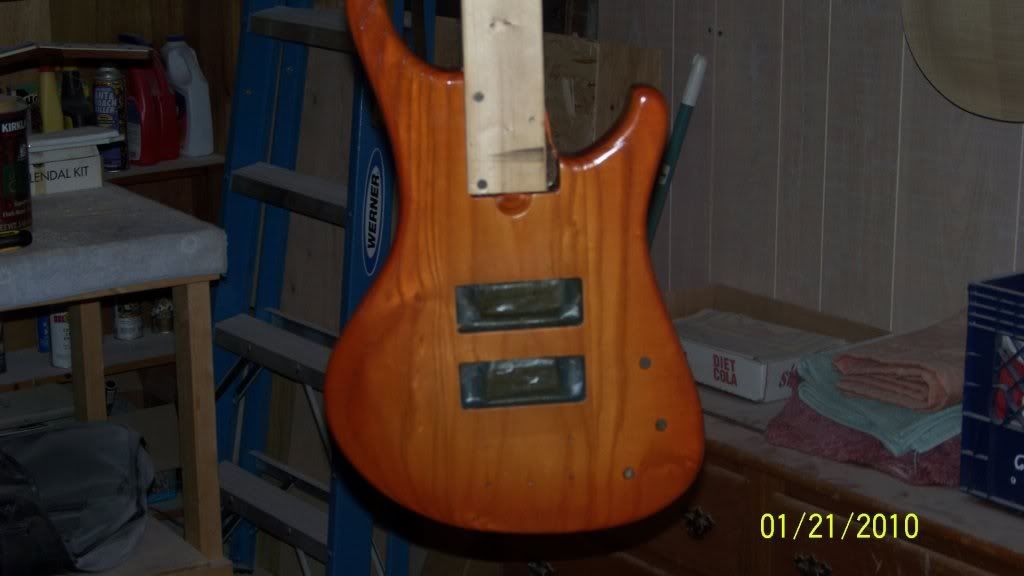
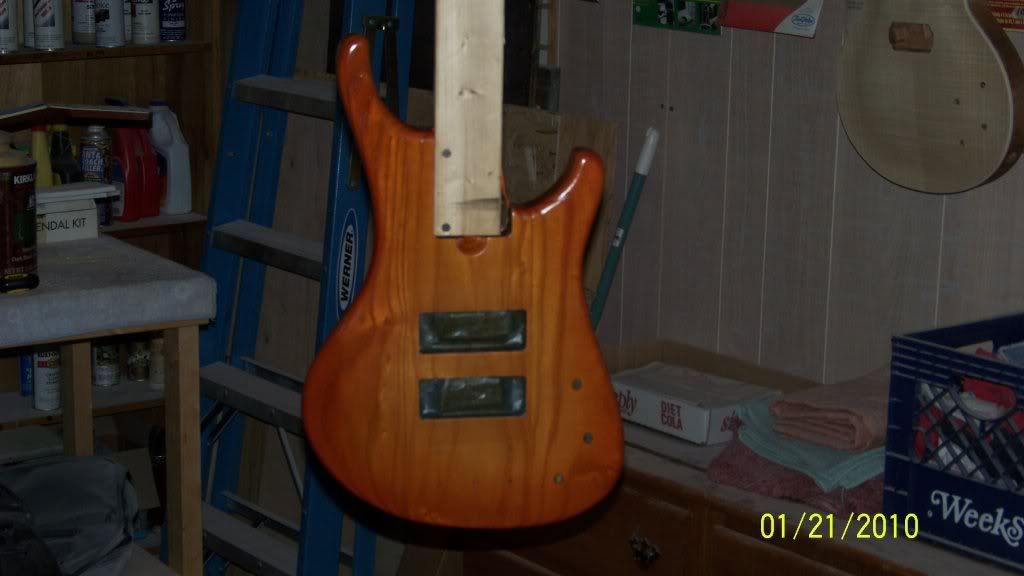
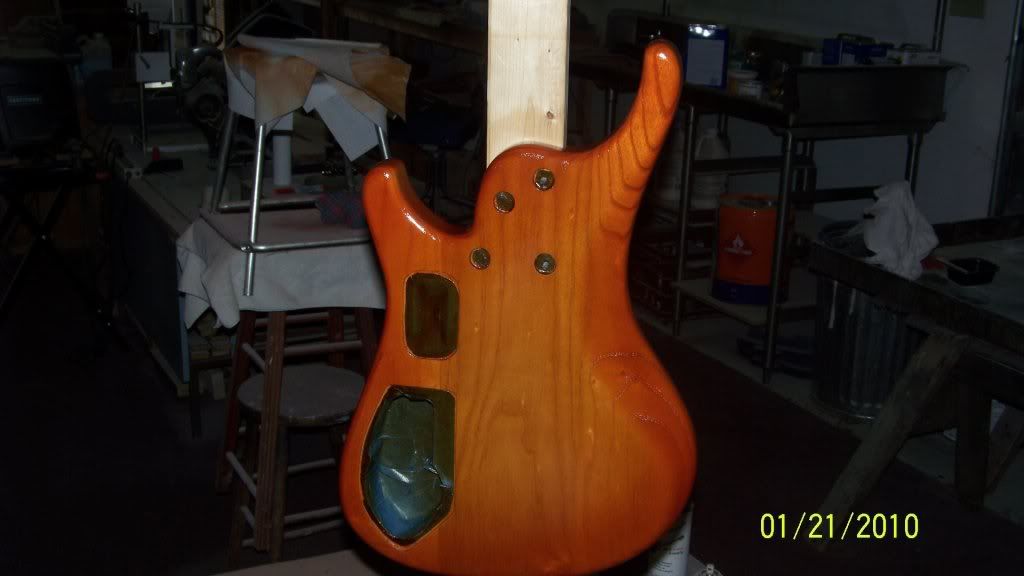
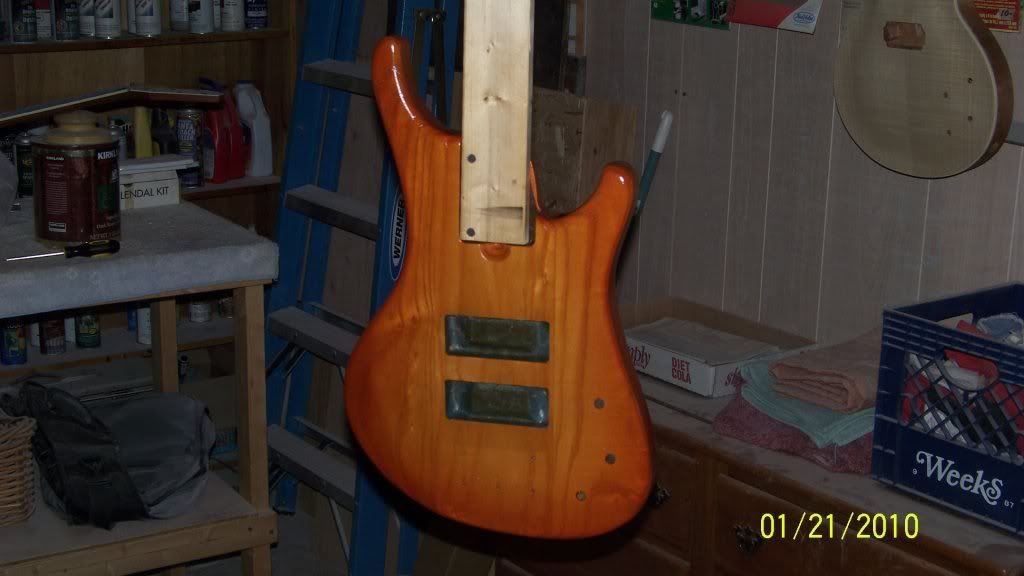
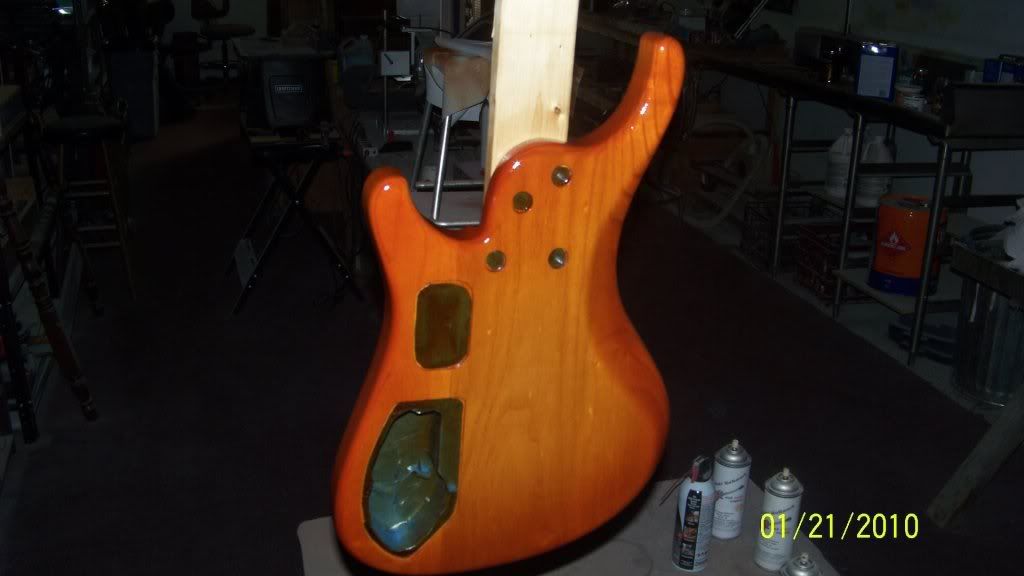
Hey guys. I thought you might enjoy this thread. here's a Roscoe bass I'm finishing right now for a customer. It's an ash body and I'm spraying a faded cherry sunburst. a lot of guys use things like cardboard cut outs to get perfect lines on sunburst finishes, and I'm not to say they are wrong, but I find a "perfect" looking burst doesn't look real to me.
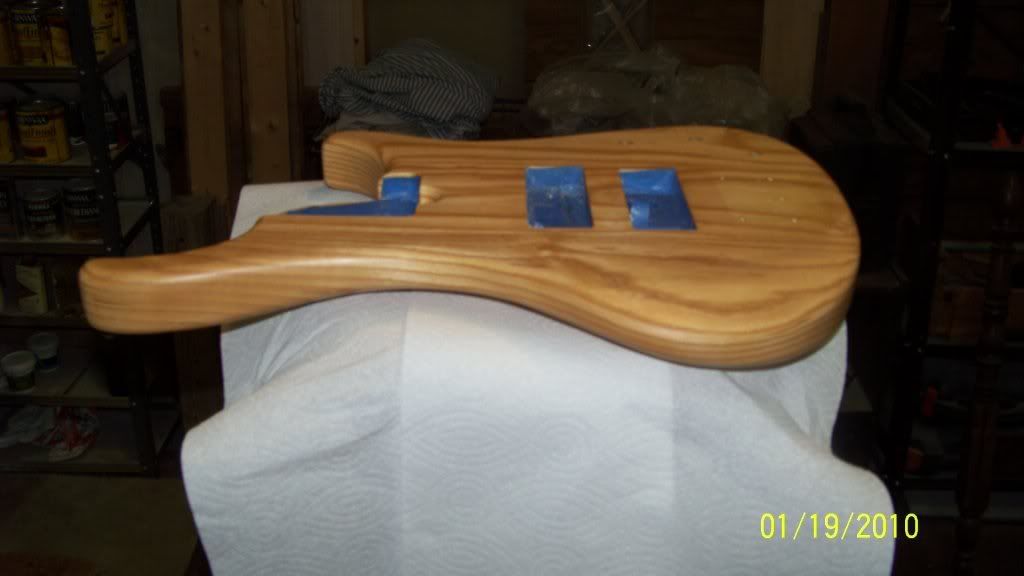
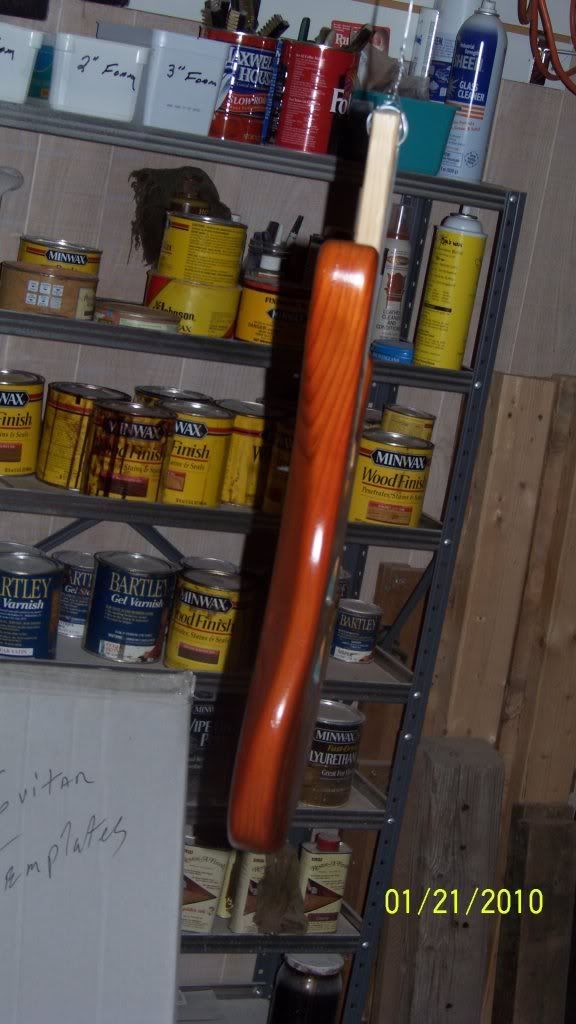
When I spray these I always spray the outside first. and spray it several times to I find the darkness I want in the burst. now a days I usually make the lacquer in shop with clear and toner, but reranch three color edge works great. also for a more vintage look, you can spray the brown colored 2 tone edge too to make it more tobacco looking, or use can use more burst amber on the sides to get it more orangey-yellow. it seems like every time I do one of these, the first time out I'm not happy with the results and I always end up redoing the finish at least one time.
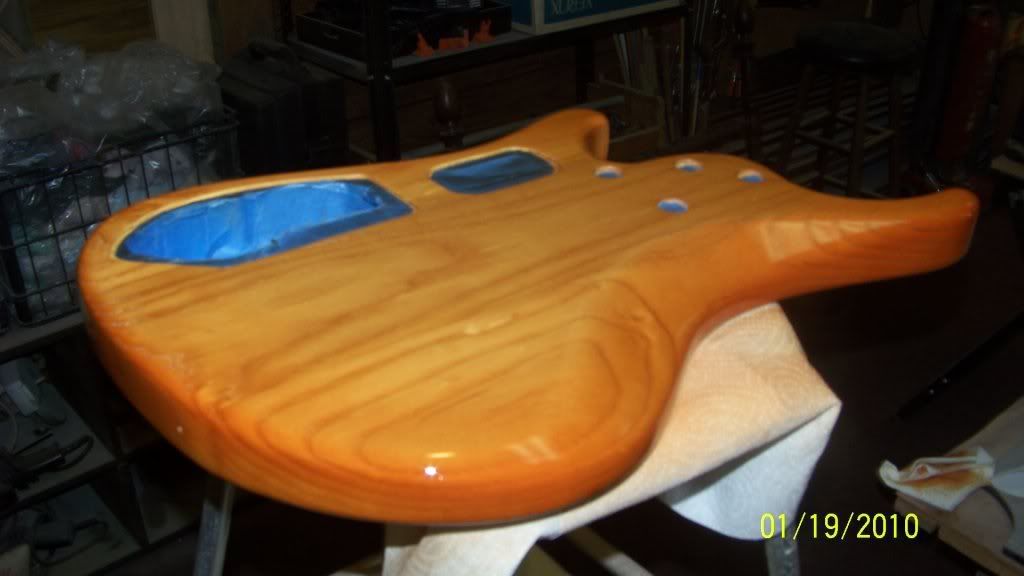
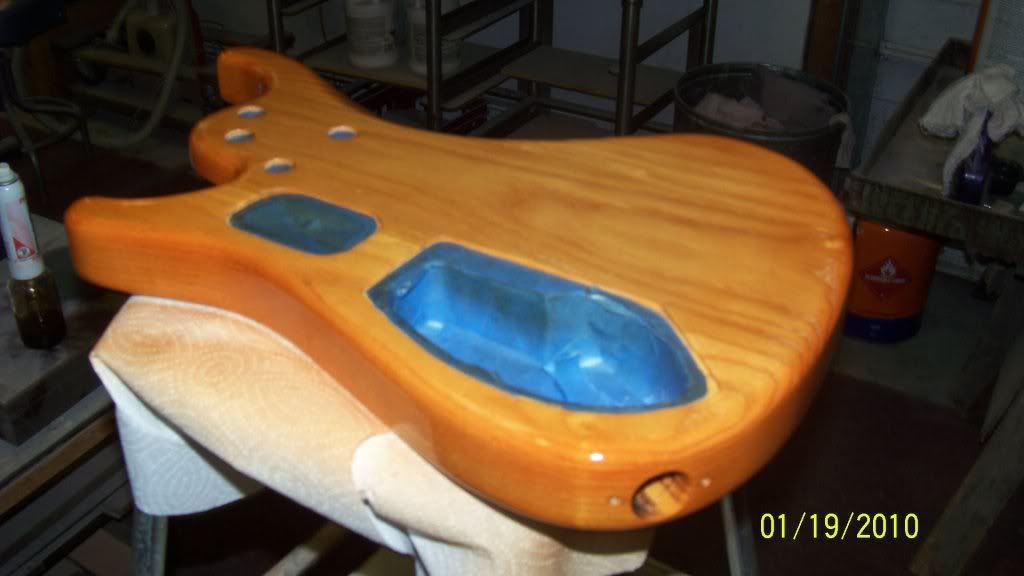
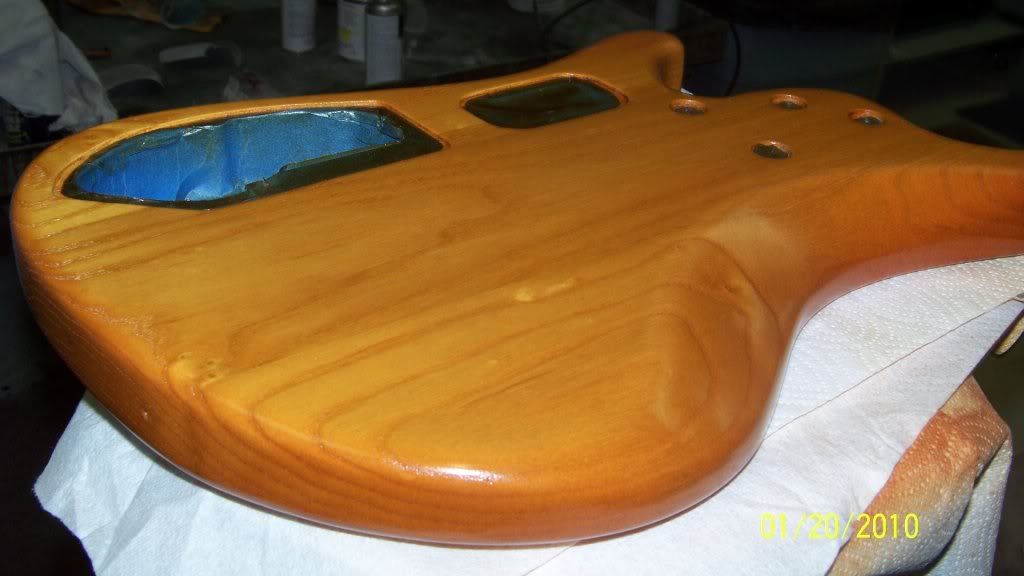
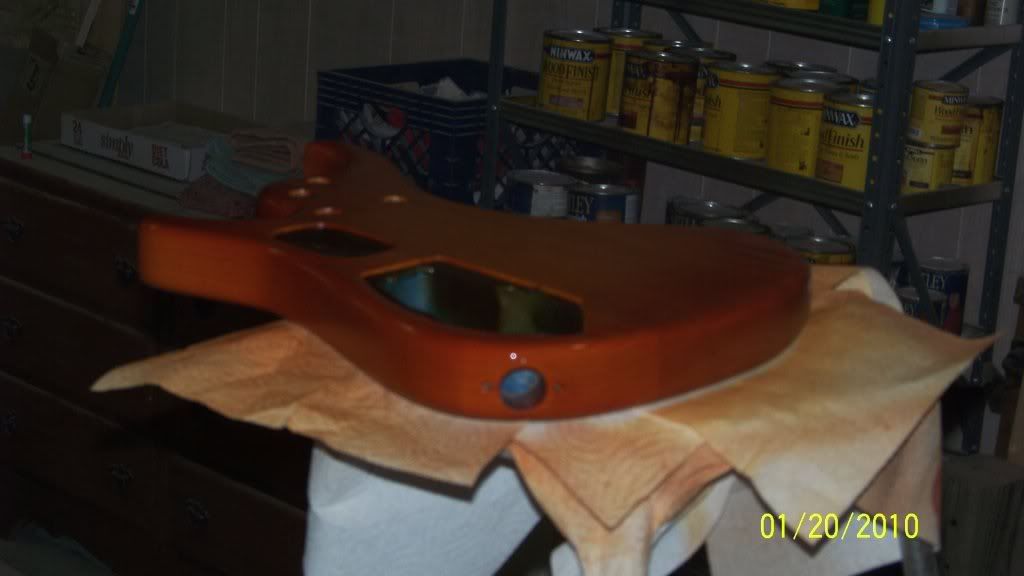
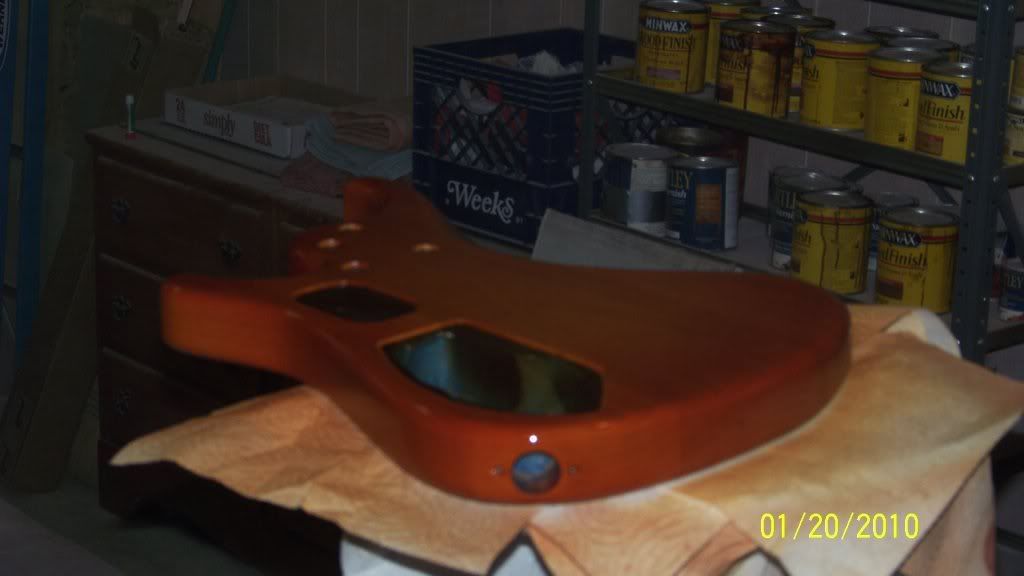
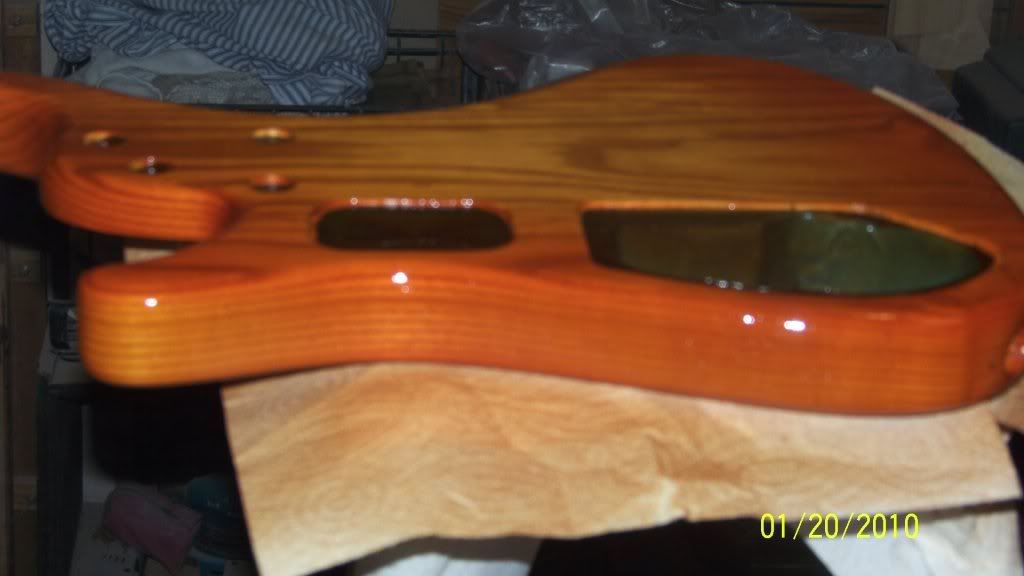
my point is don't be afraid to play with the finish. Ash is a fairly yellowy looking wood when it's clear coated, so when the lacquer dries I softly sand the inside section with a 500 grit buffing pad to give the burst more depth (and remove any unwanted spray that reached the center). on a maple top I would spray the whole guitar with burst amber after spraying the out side edge, but with this bass I just sprayed clear in the center. also it's perfectly okay to spray the center color on top of the out side edge color for this type of burst. this doesn't always apply for all burst finishes though.
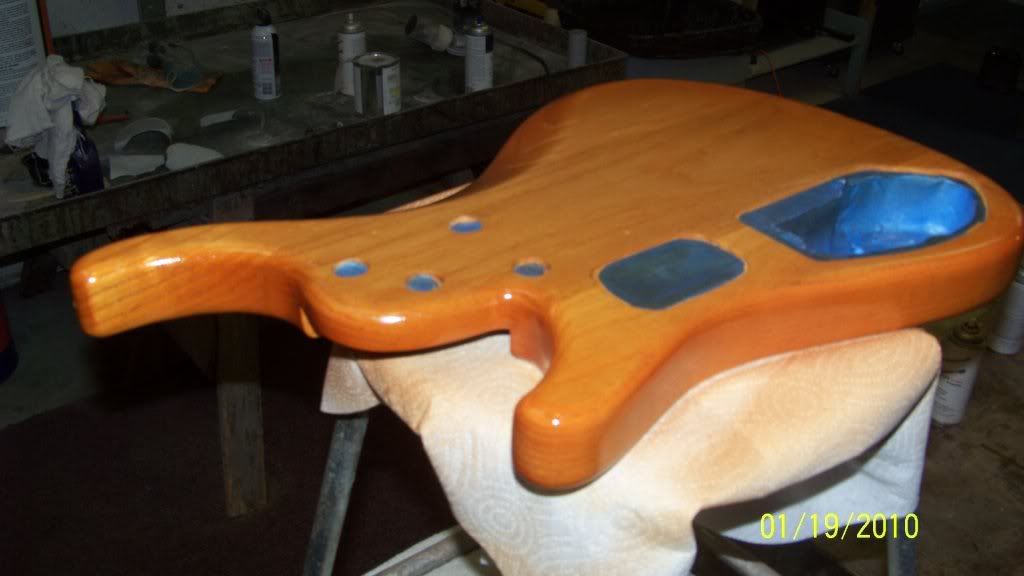
again, I'm not telling people how to finish, but maybe this will give some of you guys out there that want to do this more courage to try it out. it's actually pretty easy to do, with a little practice I been wanting to try of a classic mosrite burst for a while now, can't wait to try it
When I spray these I always spray the outside first. and spray it several times to I find the darkness I want in the burst. now a days I usually make the lacquer in shop with clear and toner, but reranch three color edge works great. also for a more vintage look, you can spray the brown colored 2 tone edge too to make it more tobacco looking, or use can use more burst amber on the sides to get it more orangey-yellow. it seems like every time I do one of these, the first time out I'm not happy with the results and I always end up redoing the finish at least one time.
my point is don't be afraid to play with the finish. Ash is a fairly yellowy looking wood when it's clear coated, so when the lacquer dries I softly sand the inside section with a 500 grit buffing pad to give the burst more depth (and remove any unwanted spray that reached the center). on a maple top I would spray the whole guitar with burst amber after spraying the out side edge, but with this bass I just sprayed clear in the center. also it's perfectly okay to spray the center color on top of the out side edge color for this type of burst. this doesn't always apply for all burst finishes though.
again, I'm not telling people how to finish, but maybe this will give some of you guys out there that want to do this more courage to try it out. it's actually pretty easy to do, with a little practice