Re: Adventures in tolex!
Posted: Thu Sep 08, 2011 7:18 pm
I used DAP woodweld contact cement, for what that's worth.
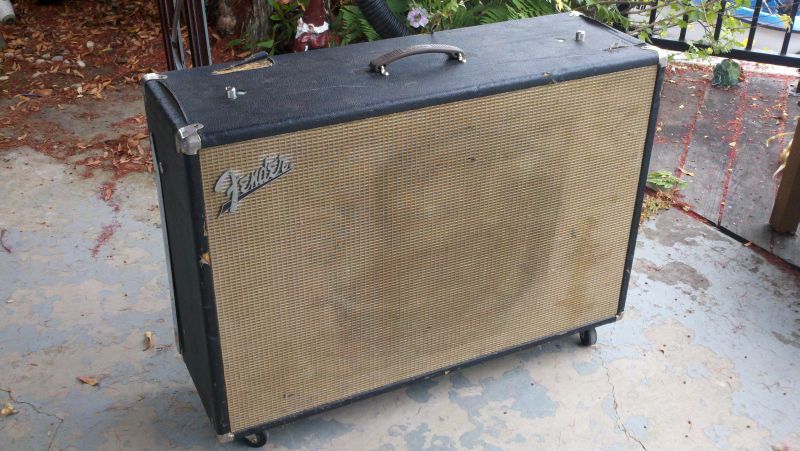
MWaldorf wrote:I finally got some free time to re-tolex the speaker cabinet for my Fender Showman. The amp is a '63 blonde brownface amp and the tone-ring cabinet is a blackface unit that was torn up some. The job is pretty straightforward, with no special tools needed, though a power drill and power sander speed things up a lot. Beyond the tolex and grille cloth, the project required contact cement, a couple of paint brushes, some wood filler, putty knife, and staple gun. This is my first re-tolexing job, and it's good to start on a speaker cabinet where all the corners are covered so you don't need as much precision as on an amp head or combo cabinet.
So, without further ado, adventures in tolex!
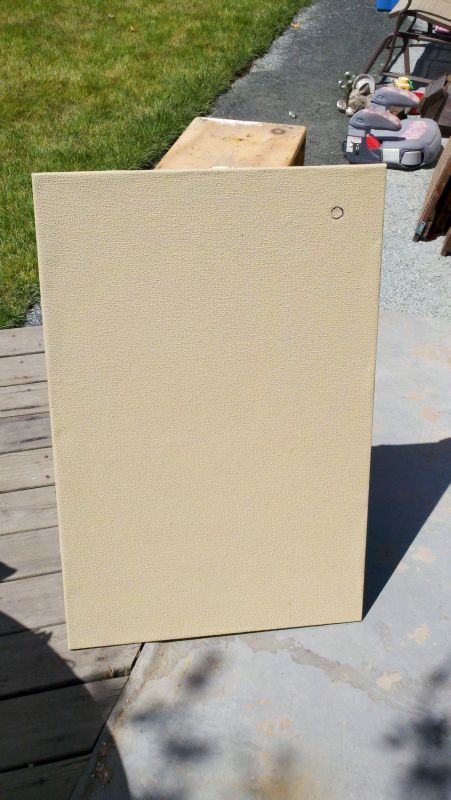
Here's the cabinet as it was. Not bad, just not matching the amp head.
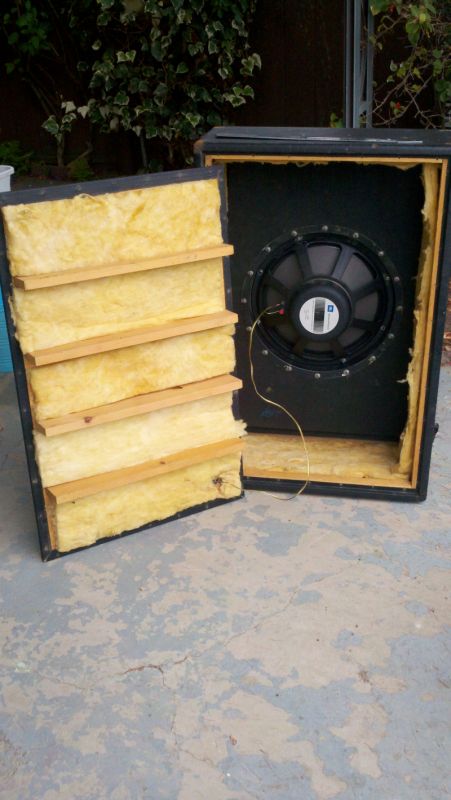
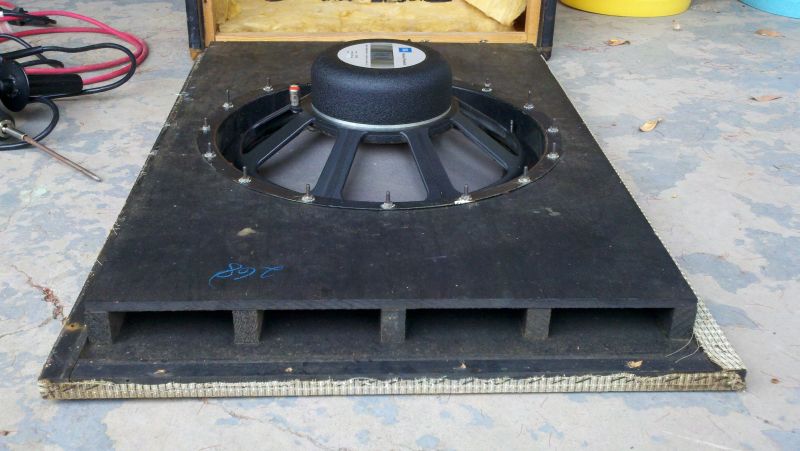
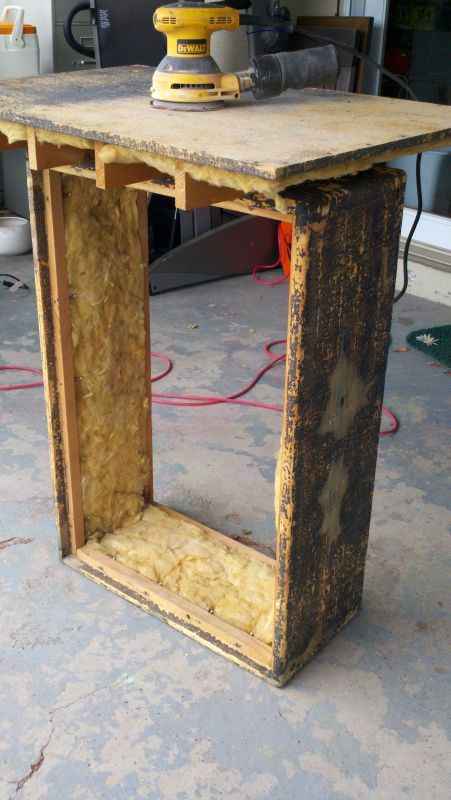
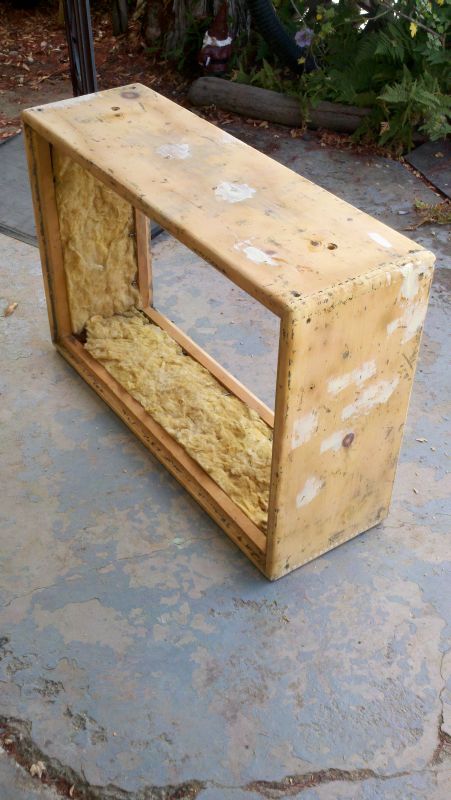
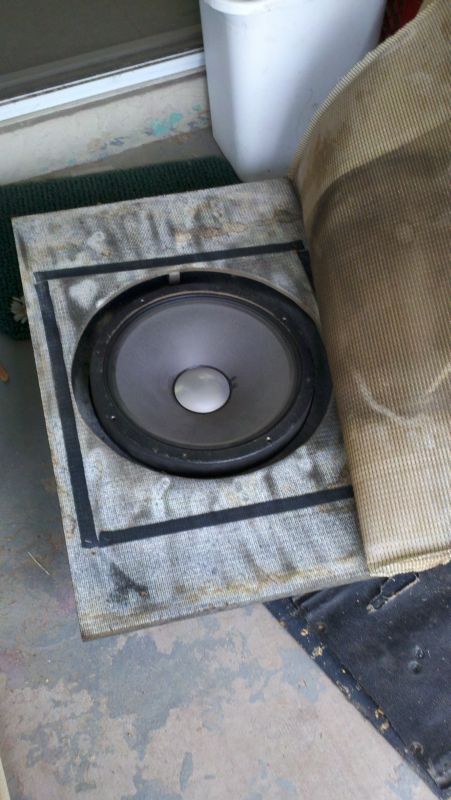
Here you can see the internal tone-ring porting. The speaker is a '70s JBL K-130, a higher power handling version of the D-130F that would have originally been in the cabinet.
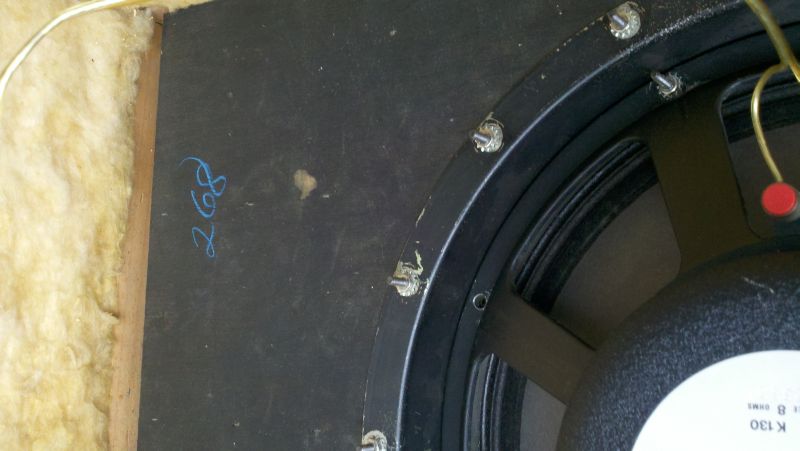
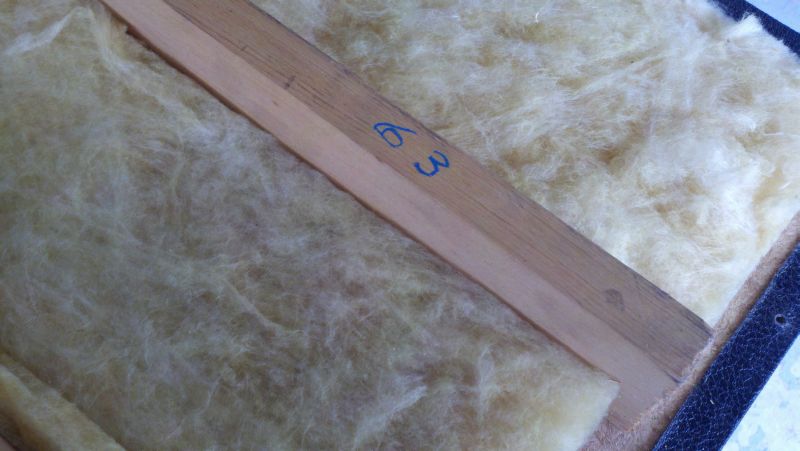
Markings on the cab "268" and "63"
Tolex off, sanding begins
Sanding completed, first round of patching. Besides the usual dents and divots, I plugged the original head bolt holes. The brownface Showman amps are 26", whereas the blackface ones were 24" so I had to move the placement. I glued dowels in the holes and sanded flush.
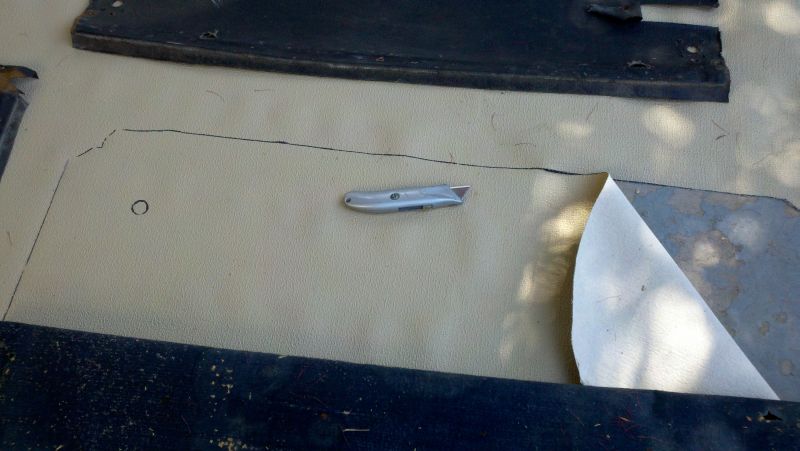
Old tolex laid out on new tolex; I used the old pieces to cut the sizes of the new ones.
Cutting the tolex for the back panel.
Back panel tolex installed! Thankfully contact cement is very forgiving. You brush it on both surfaces to be glued, and wait for it to get tacky. Then you press the pieces together, but it doesn't fully bond right away so there's time for readjustment.
This is what forty some odd years of dust/nicotene/beer looks like!
The baffle was solid but the gunk wouldn't come off, so I removed the speaker and sprayed the baffle and tone ring flat black, then reinstalled the speaker and the felt strips.
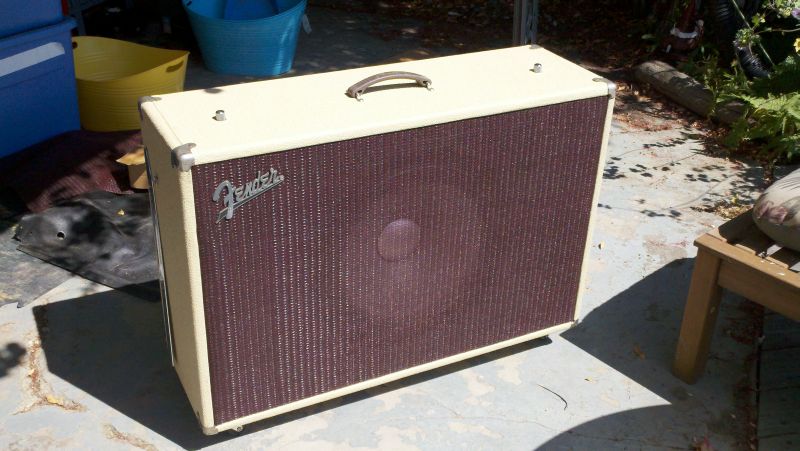
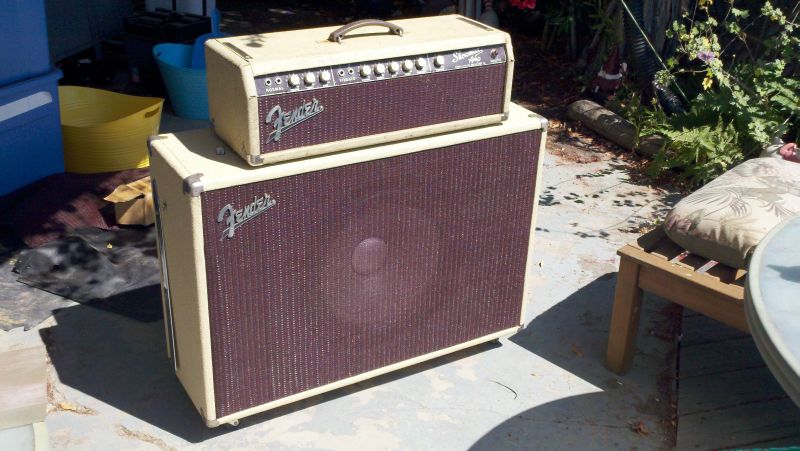
Assembled cabinet. Looks good by itself; looks better with the amp head on top!