Page 1 of 2
Homenmade string guide
Posted: Fri Jun 11, 2010 5:56 pm
by woodchuck30
Hay guys this may be of some interest to you cloners out their, I've found a priety neat way of making a string guide verry similar to the ones found on the mosrite's. Any one interested? Let me know and I'll shoot the idea by you's I know that their not cheep like a three dollar item like a chunk of bone, or a 10.00 brass one. Theese can be made for a couple of bucks or for pennies if you already have the material, and a little time.

Re: Homenmade string guide
Posted: Fri Jun 11, 2010 6:25 pm
by Sarah93003
Yes indeed. I'd be interested!
Re: Homenmade string guide
Posted: Sun Jun 13, 2010 4:04 am
by Olav
Don't tease... spill y'r beans!
Re: Homenmade string guide
Posted: Sun Jun 13, 2010 6:10 pm
by raygun85
I'm not sure how woodchuck is planning to do it but an easy way would be to go buy some round metal stock, steel, aluminum...etc...
Cut, file, or grind it flat on one side. Cut the slots. Buff to a shiny, reflective surface you can see yourself in. Or you can sandcast them (a lot more difficult, costly, and time consuming.) Making it out of round metal stock just requires a lot of patience and elbow grease.

Re: Homenmade string guide
Posted: Sun Jun 13, 2010 6:55 pm
by woodchuck30
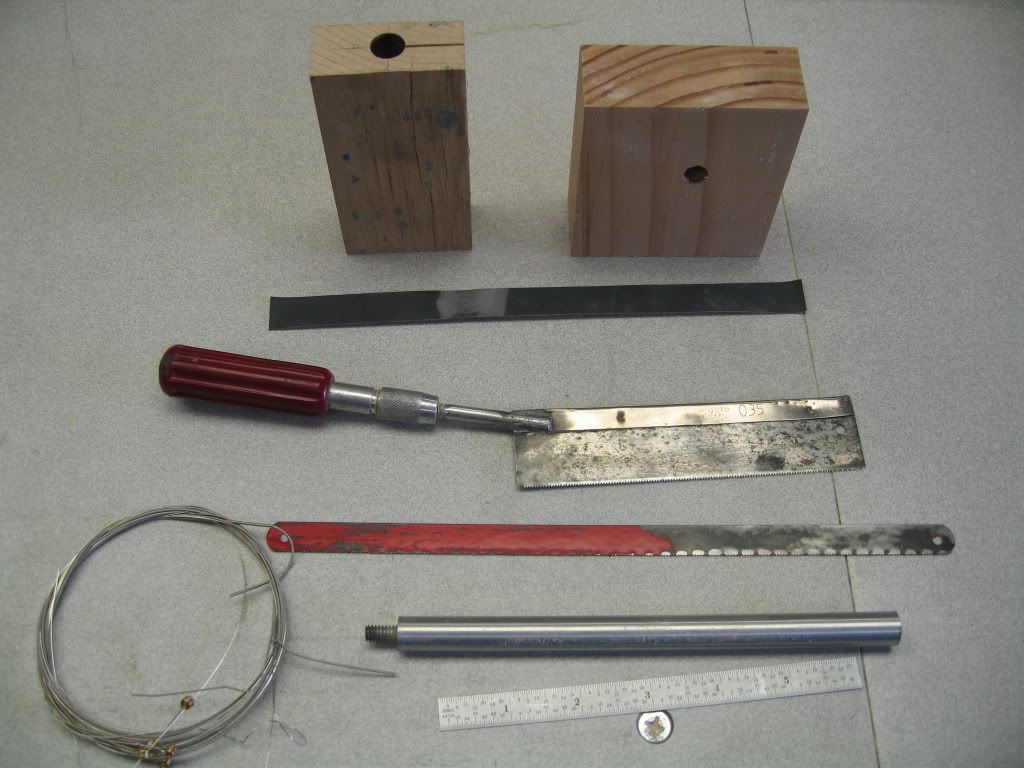
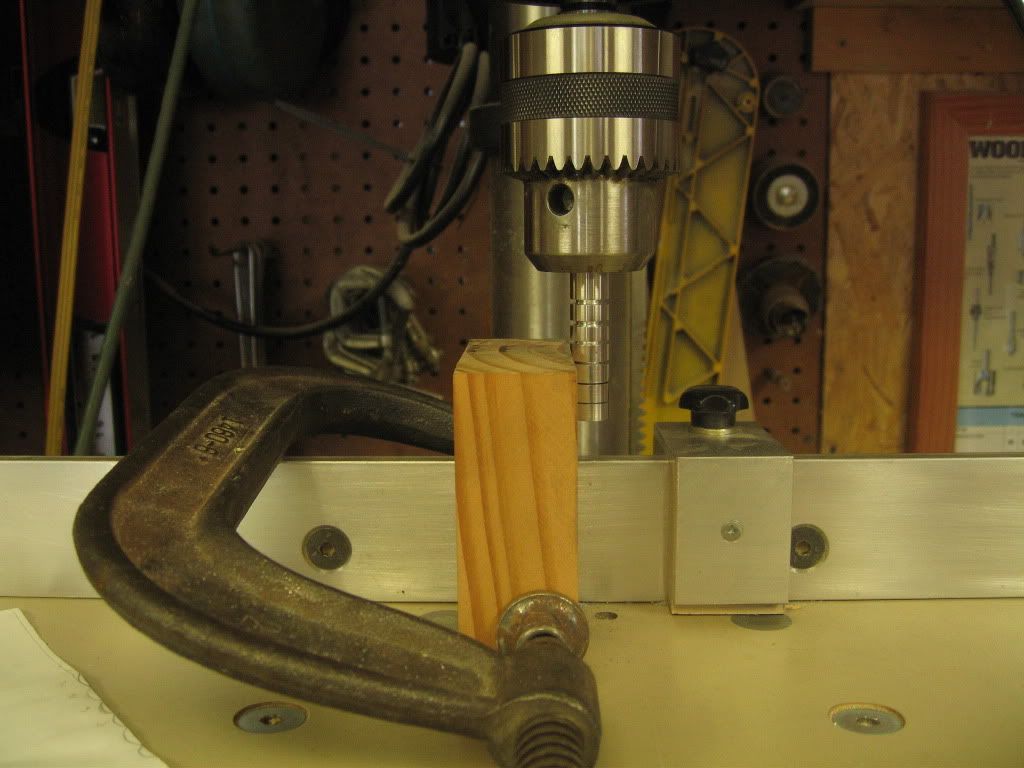
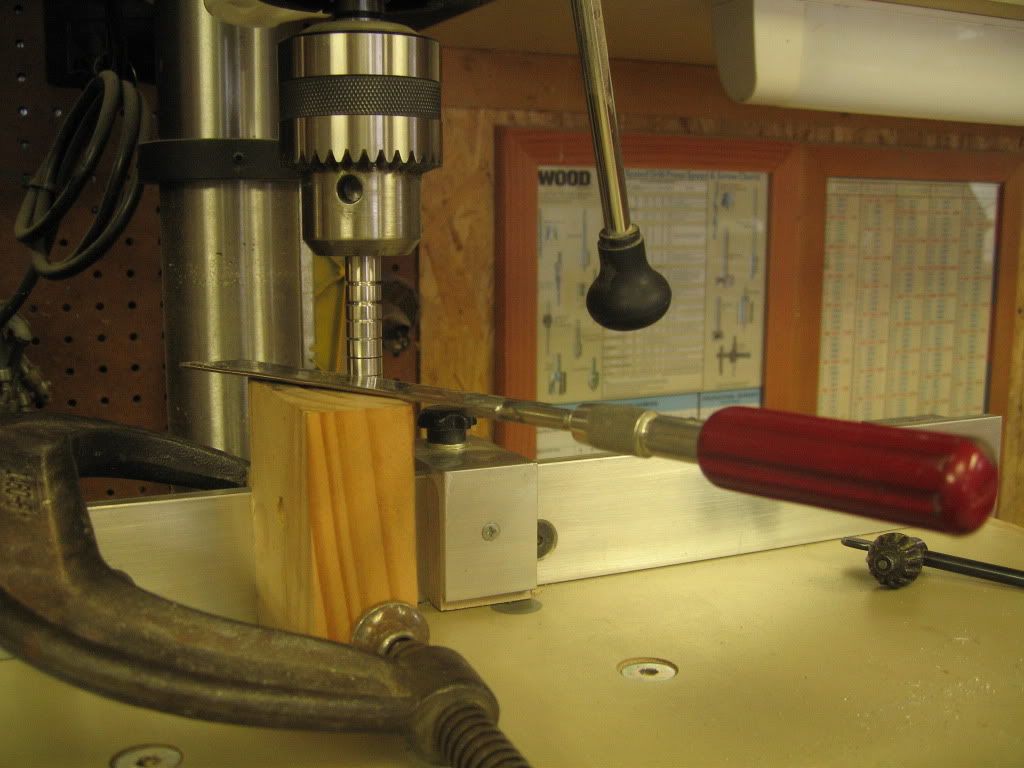
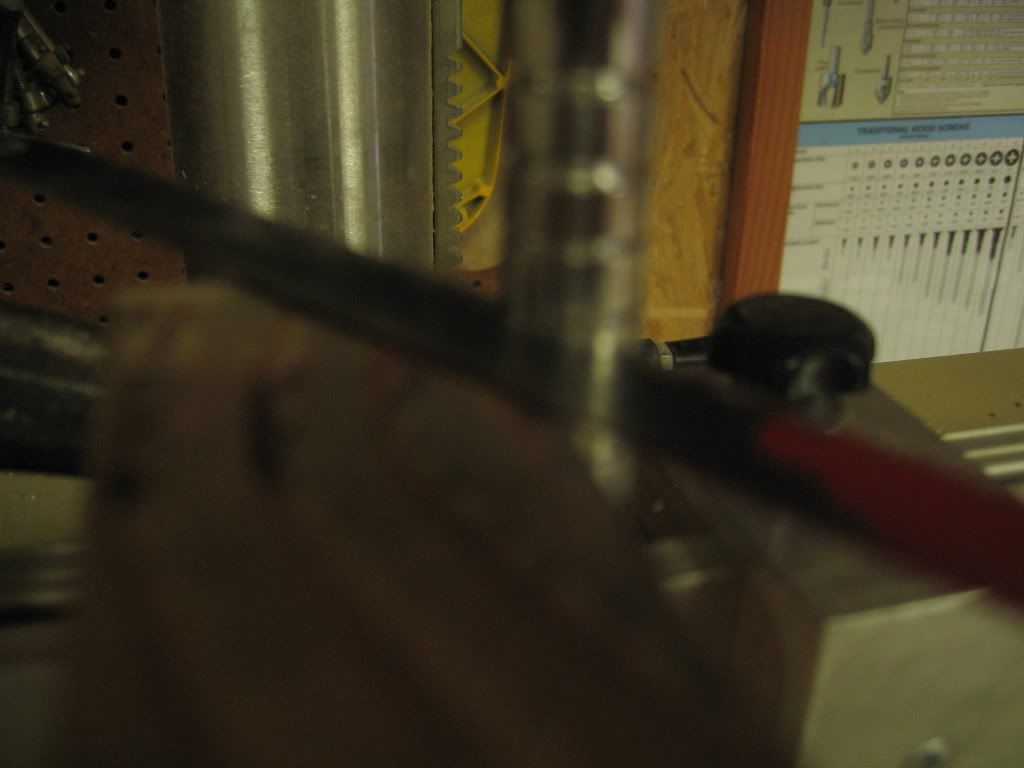
OK GUYS AND GALS, you can go to the local hardware store and buy a piece of 1/4" aluminum round stock, cut a piece off about 2" long, mark whear your strings are going to go in pencel and make sure its sharp. If you have a model making saw, like the exacto type , the blade is about .010" kerf which is perfect for the small E and the next string. Now chuck the aluminum piece in your drill press, and adjust the aluminum piece by pulling down on the feed handle and lock it into place just so the 1st pencel mark is just above a block of wood about 3" tall. lay the exacto saw on the wooden block, check the alignment of the pencel mark and the exacto saw. When ligned up turn on the drill press and press the saw into the aluminum rod gentely and begin your cut. Proced with the other cuts the same way untill you have 6 of them. For the other strings to fit properly, use some old wire wound guitar strings and gently place them in the coresponding places. the strings will cut the soft aluminum for a perfect fit. As for fastening it to the guitar, you can do it the raygun way or my way which I think is more accurate. Lay your neck on its side and drill a 1/4" hole in the neck whear the string retainer goes, this makes a cradel for it to sit in, and epoxie it in place held by the strings for clamping pressure. It take about 1 hr to make one so I figure its worth 30.00 or what ever they charge for one. Hay raygun got some pics for us of your project yet? Your keeping us in suspence, and thats not nice.

Re: Homenmade string guide
Posted: Mon Jun 14, 2010 12:56 pm
by raygun85
Nope, we've given up. Thrown in the towel. I've decided to hold up a cardboard sign for a living - the kind that says "Out of gas. Hungry. God bless." But I'll need a Sharpie marker to make my sign so first I need to hold up a sign that says "Need Sharpie marker to make a new sign. God bless." Oh wait a minute?

Re: Homenmade string guide
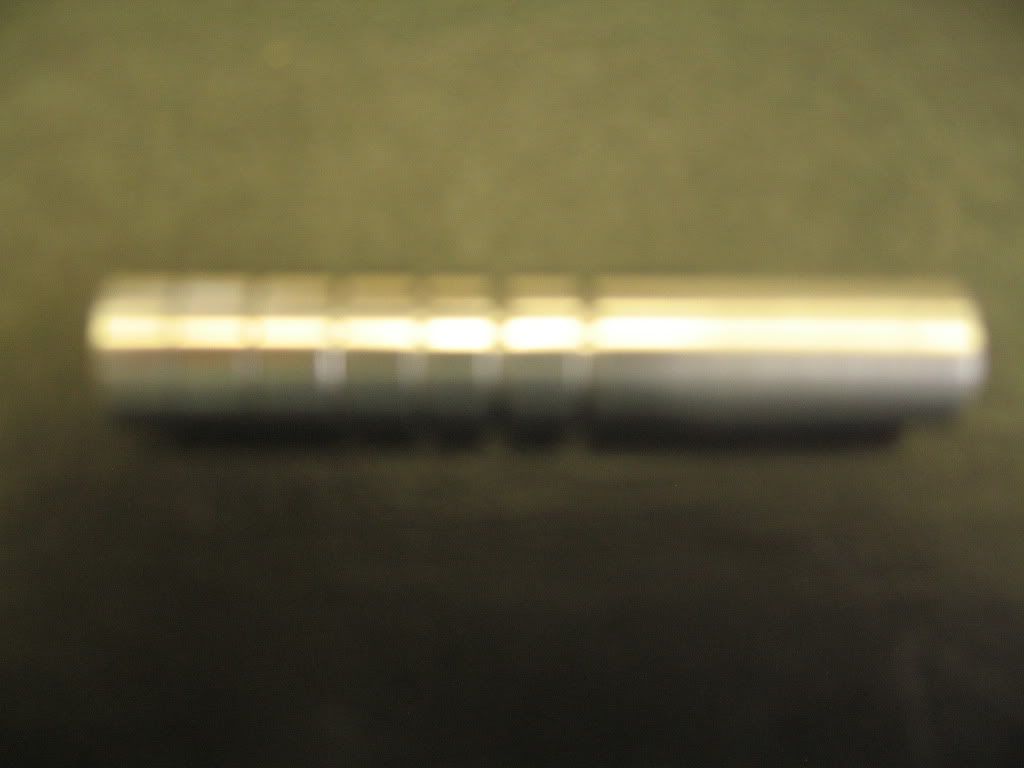
Posted: Thu Jul 08, 2010 12:27 pm
by woodchuck30
Re: Homenmade string guide
Posted: Thu Jul 08, 2010 12:34 pm
by woodchuck30
Sorry about the picks, but I think you will get the idea on how the procedure goe's. The setup is quite simple if you can put a drill bit in a drill press you can make this and save a lot of money in the process.

Re: Homenmade string guide
Posted: Thu Jul 08, 2010 12:50 pm
by oigun
Apart of the fuzzy pics

A great pictorial!! Keep it coming!
Re: Homenmade string guide
Posted: Thu Jul 08, 2010 12:58 pm
by Sarah93003
That is awesome!